These fermented food recipes are pretty easy to make. Ferments generally are. But then there’s also many fermented food recipes that are harder than traditional non-fermented recipes. Four of these 5 ferment recipes are easy to learn and memorize how to do. The kimchi is the difficult one due to all the ingredients in the authentic recipe..

They take time to ferment. Some just a couple days, and others like the miso, 6 to 8 months minimum. But once you make your first ferment, you’ll always want to have a nice fermented condiment around at all times soon afterwards. And once you successfully complete your first ferment, it’s etched in your memory and you’ll have a new useful lifetime skill to share with your friends and loved ones.
Table Of Contents:
5 Easy Fermented Food Recipes
Some say one of the harder fermented foods recipes is kombucha, but even this fermented drink recipe is easy once you’ve got the hang of it. Let’s go right into these “5 Easy” fermented foods recipes starting with the popular healthy drink, kombucha.
1. Kombucha Recipe
Kombucha works as a great digestive aid if sipped on before a meal.
It’s a great pick me up drink any time of the day.
Everyone talks about how kombucha is so expensive, how you have to pay 3, 4, or 5 a pop for each one. That’s why you need to learn how to make your own homemade kombucha. It’ll help you enjoy it that much more.
For the same reason you buy your own coffee beans, it’s a good idea to make or buy your own scoby. Homemade kombucha will have more nutrients than store bought too.
Easy Homemade Kombucha Recipe
Luckily, there are wonderful videos online that show you how it’s done step by step. Here is the only one you need to get going with your homemade kombuchas. It’s a very informative video that teaches everything you need to know about how to make kombucha at home:
What you need
- Scoby (1 per gallon)
- Kombucha starter tea
- Tea (oolong is what I use but this recipe calls for black tea)
- Sugar (brown sugar works good)
- Drinking water
- Plastic non metal top jars
There are a few options to attaining scobies:
- buying them online (you can even find them on Amazon)
- grow a scoby yourself
- Obtain a scoby from a friend or someone you know
Homemade Kombucha Recipe Breakdown:
- Step 1. Make tea, caffeine or decaf both work (loose leaf tea or around 10 tea bags per gallon)
- Step 2. Add sugar, let it cool to room temp, then add the scoby
- Step 3. Cover and put away covered in cloth or paper top to let it breathe in a warm room temp area
- Step 4. The temperature needs to be around 50 Degrees F
- Step 5. Time period varies depending on variables, but normally around 7 to 21 days later you will need to taste test it. It should be semi sweet and not 100% vinegar tasting.
- Step 6. You can then choose to do a second ferment or use as is.
Then just remove the scoby, pour some freshly brewed kombucha in a container with it, and seal that off to save it for your next fermented drink brew. They multiply. Then you will have to give scobies away as great gifts, or you can make a Scoby Hotel.
For the optional second fermentation,
- add in whatever natural flavor you need here
- cover with a cloth like top again
- and put it away in a dark area to ferment for a few more days before refrigerating.
The refrigeration is what halts the fermentation progression.
The video shared above goes over both first and second fermentations. Kombucha takes a while to complete, but it’s easy as you’ll discover after going through the process once. A gut healthy kombooch is a handy recipe to have memorized.
Learn the kombucha making basics and you’ll be a changed person. It’s then a matter of perfecting your kombucha craft and building up your scoby hotel.
2. Water Kefir Recipe
A good follow up to kombucha before getting to the ferment recipes heavy hitters is another great liquid ferment drink, water kefir. For the kefirs, one quarter cup a day is recommended as a healthy way to consume it.
Unlike kombucha with its large scoby, kefir is made with smaller kefir grains that look like small clear cauliflower pieces.
They’re faster to make than scobies and their multiplying completion time, but you cannot make them from scratch. You have to attain them from someone or buy from a good source online. The grains naturally multiply, so people making kefir always have excess amounts. Check your local market places and farmer’s markets as well.
How To Make Water Kefir Video:
Recipe directions for their water kefir recipe from the video:
- Step 1. Put quarter cup sugar into jar
- Step 2. Add half cup hot water
- Step 3. Stir and dissolve sugar
- Step 4. Add 3 cups room temp water
- Step 5. Once water is at room temp (68 to 85 F), add in the water kefir grains
- Step 6. Cover jar with a cloth and let sit in warm area for 1 to 2 days
- Step 7. Strain out the grains, store those in some room temp sugar water in a container.
CulturesForHealth make good quality water kefir grains.
Once you attain some good kefir grains, you can then grow them yourself and not have to purchase them again.
Making Milk Kefir?
For the milk kefir, add kefir grains to whole milk, cover with a cloth and let sit for a couple days. When finished, just strain the grains and use for a new batch and bottle up the current batch. This is an ongoing fermented food recipe that gets easier and easier the more you do it.
3. Red Wine Vinegar: Naturally Fermented Food Recipe
Fermented red wine vinegar is a great ferment recipe that you’ll use multiple times per week for the rest of your life.
Red wine is already fermented, so it makes this red wine vinegar one of the easiest and still one of the tastiest fermented foods recipes.
Vinegar itself is a good ferment. Combined with wine, you can make it a great salad dressing red wine vinegar with just a little wine and time.

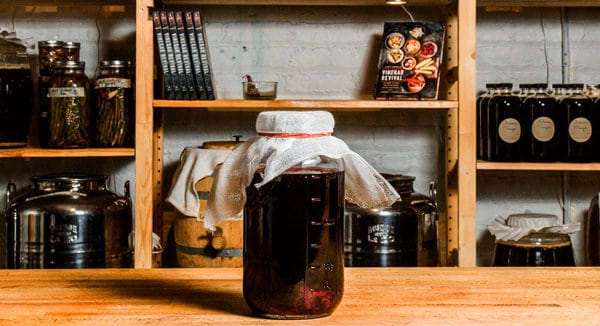
Image Source: Devin Yalkin, New York Times via Cooking NYTimes
This is how to make naturally fermented red wine vinegar with just 2 ingredients.
What you need:
- 2 cups of red wine
- 2/3 cup organic vinegar with the mother, like Bragg’s (or similar) Organic Apple Cider Vinegar with “the mother.”
Fermented Red Wine Vinegar Recipe Steps:
- Step 1. Pour wine into a jar you’ll hold the dressing in, Glass works good. Avoid metals and plastics.
- Step 2. Shake the wine to aerate, then add in the live vinegar or “mother.”
- Step 3. Cover the jar with a cloth, tie it off tight or use a rubber band, and store somewhere that’s dark, with a warmer room temperature. The colder the longer it will take to ferment if it happens at all. Somewhere in between 70-80 Degrees Fahrenheit seems to be the ideal room temperature for fermented food recipes.
- Step 4. After 2 months the alcohol should have acidified and the vinegar will be ready to enjoy.
For storage, pour the top 2/3 of the container into a glass jar that will be sealed shut and then refrigerate that part. It will slowly keep fermenting in the fridge until you’re finished using it and will last for months if you let it.
Notes:
- During fermentation, every few days give it a stir.
- Give it time to let it mature into the proper vinegar it will develop into. After 2 weeks you can begin to taste test every few days.
- Warning: if mold has started up on your mother or anywhere on your first batch, you should start over with a new batch.
4. Bean Ferment: Black Bean Miso Paste Recipe

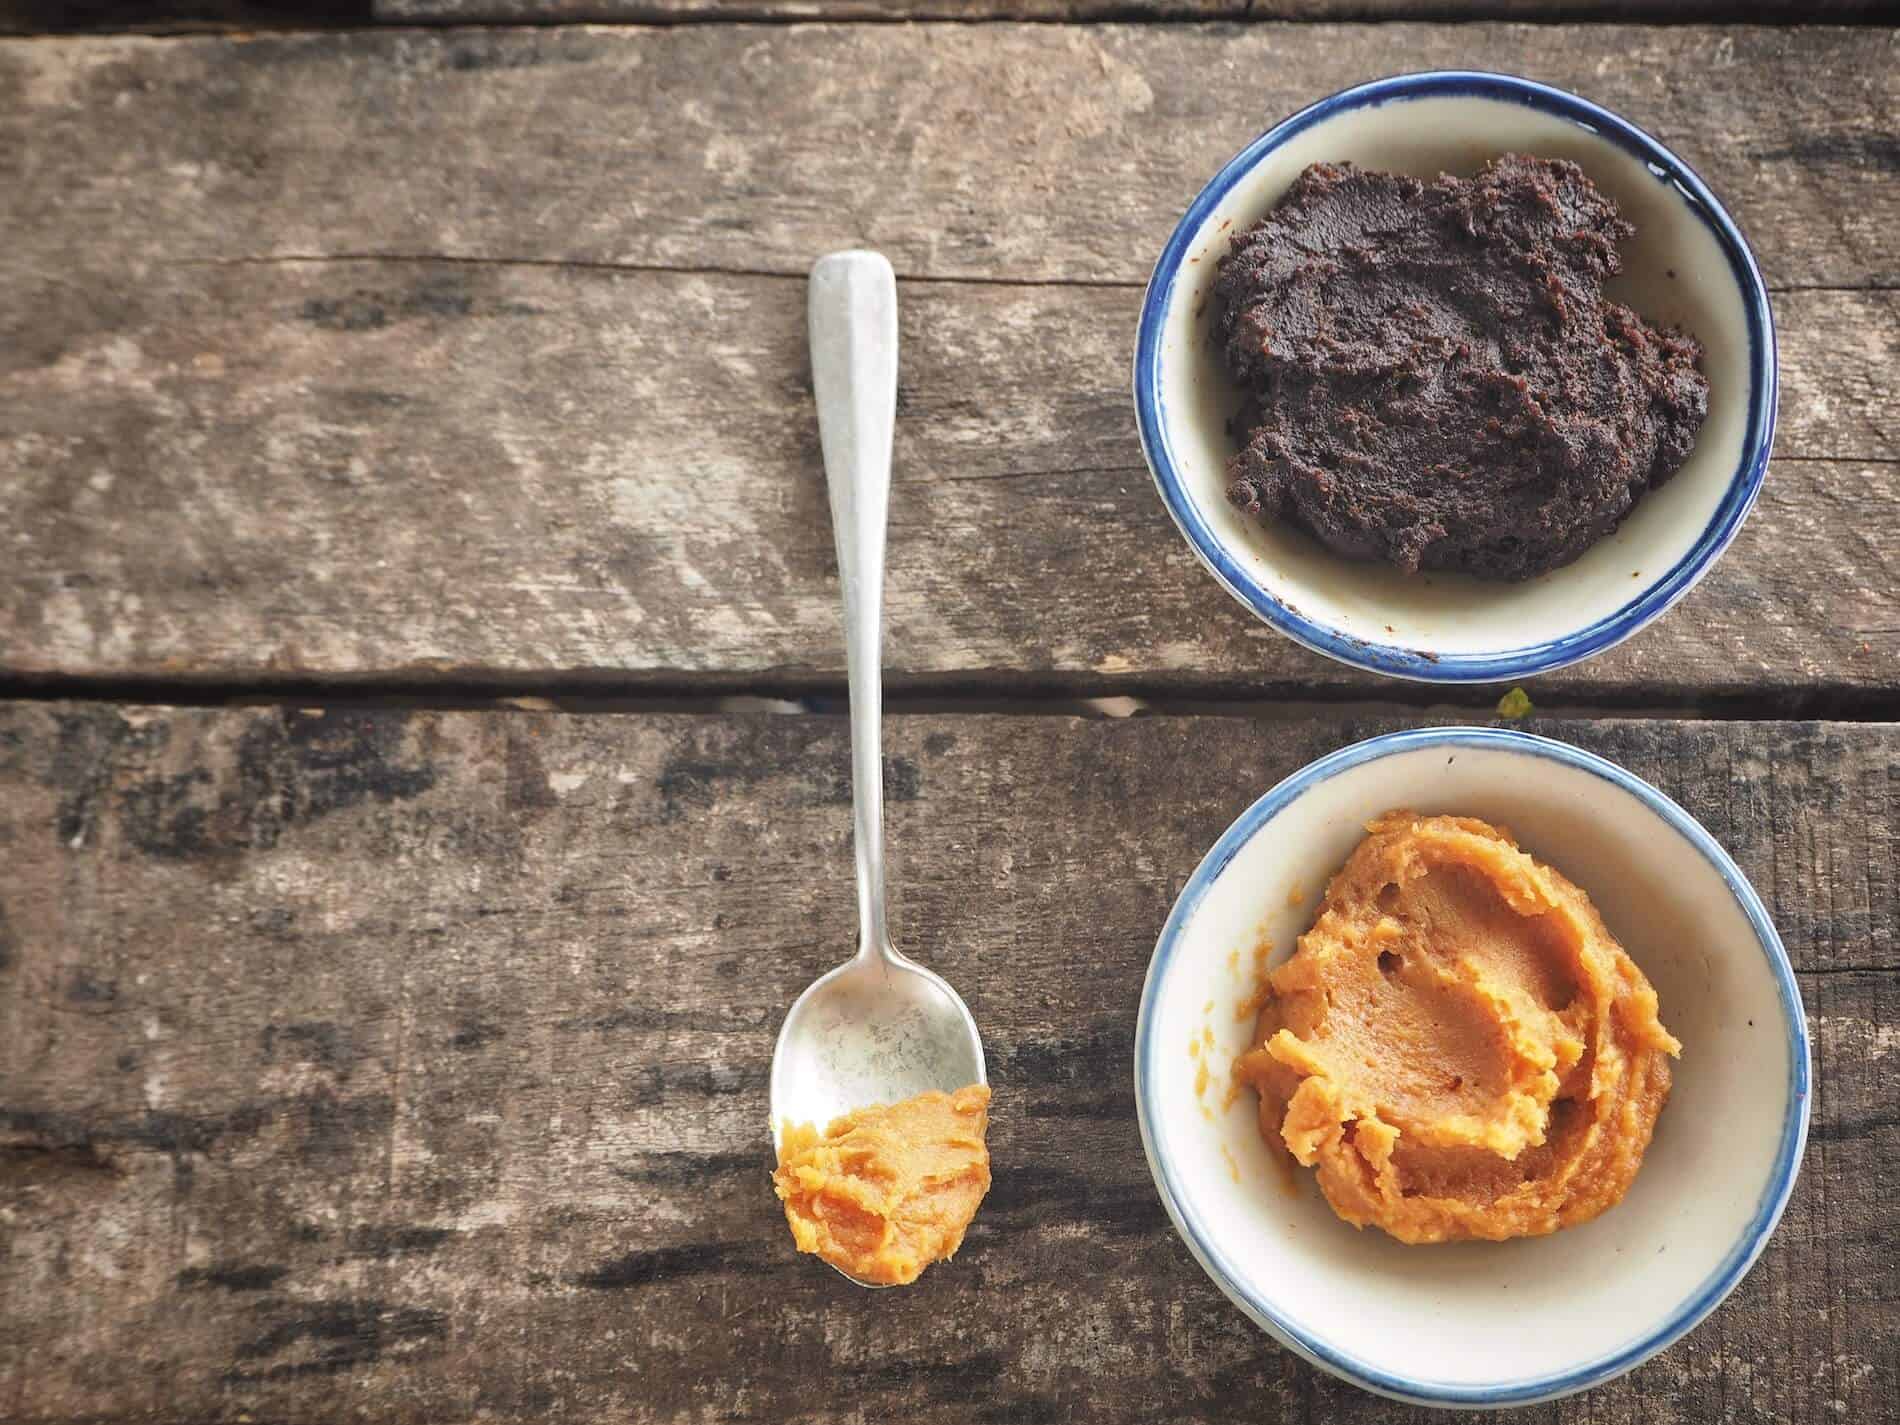
This black bean miso recipe offers you a way to fully enjoy miso without the soy. Soy beans are the traditional bean for miso, but you can make it equally delicious and nutrition packed with the legume of your choice. If you can make it yourself, you can enjoy the same great flavor without having to use soy.
A proper miso can ferment for over a year. 6 months is the average wait time for a well-aged miso paste. There are shorter 4 week ways to make it, but most good miso paste recipes will take around 6 to 8 months to ferment through.
The long aged miso paste is a great fermented foods recipe to know how to make.
Below I share and give a breakdown of a good black bean miso recipe from Superfood Evolution.
It calls for a 1-year ferment prior to indulging. Their recipe includes how to prepare the black beans for the miso and where and what to ferment in.
What You Need:
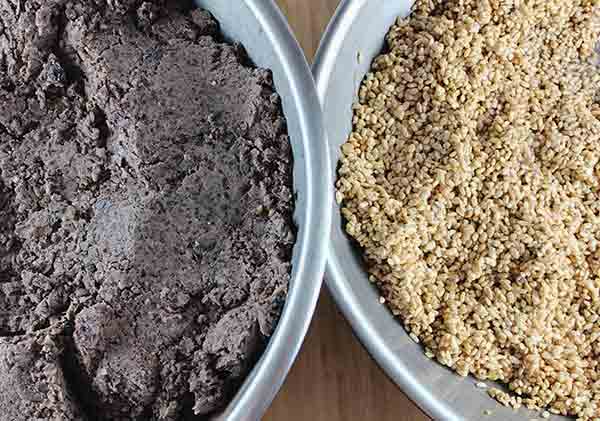
- Organic Brown Rice Koji: *rice inoculated with bacteria.
- Black Beans
- Unpasteurized Miso

Image & Recipe Source Superfood Evolution
Black Bean Miso Recipe Directions:
- Step 1: Soak the black beans overnight in water. Strain the bean water out and save it then cook the beans in water until they are soft and mashable.
- Step 2: Let the beans cool and then mash them
- Step 3: Make a brine with the liquid and sea salt
- Step 4: Mix together rice koji, brine and the unpasteurized miso seed in a large bowl.
- Step 5: Then add in the black beans if they have been mashed and cooled down completely.
A quote from the recipe,
Miso is customarily formed into large balls with clean hands and “thrown” into the salted vessel to ensure no air pockets are present.
After 8 months on the counter, there will be no mold.
This was a quick recap of the Superfood Evolution miso recipe.
More Info On Miso:
- “Koji” means moldy grain; bacteria live inside these dry grains, dormant.
- Anaerobic environment is key otherwise undesirable mold will grow. When capping off, sprinkle some salt on the top and do what you can to limit air inside the top 1/4 space left under the cap.
- Miso creates melanin as one of the fermenting byproducts, so it gets darker as it ages there on your countertop.
- During fermentation, the mold starts digesting the beans.
- If the Miso has been fermented for 6 months or longer, it now has lactobacillus in it. Along with the lactobacillus, longer-aged, fermented miso is said to have anti cancer properties and trace nutrients not found in most foods.
5. A Homemade Kimchi Recipe (hardest on this list!)
If you love Kimchi, one batch can last you a long time and makes getting a daily light amount of fermented foods in, easy. Just like the thorough kombucha recipe video, this video below is a comprehensive lesson on homemade kimchi. It’s authentic and easy to make.
Well known chef Maangchi’s authentic kimchi recipe video:
What you need
- 10 pounds, Napa cabbage
- salt
- sweet rice flour
- sugar
- water
- garlic
- ginger
- onion
- fish sauce
- squid
- hot pepper flakes
- leek
- green onions
- carrot
- raddish
- salty squid:
For this recipe, you have to make a salty squid for the kimchi by mixing fresh squid with salt and then leaving it in the fridge for a week. Then you dry it and chop it up for the kimchi recipe.
Quick Kimchi Recipe Breakdown
It’s a 3-part recipe that has a porridge, a kimchi paste, and the salty squid and cabbage.
- Step 1. Get the cabbage ready: clean, chop, and then soak in cool water with salt for a couple hours. Rinse then drain.
- Step 2. Make porridge: 3 cups of water and half cup sweet rice flour mixed well and brought to boil in a pot. As you stir add in quarter cup sugar after 5 minutes and keep stirring. Once translucent, let it cool.
- Step 3. Make Kimchi paste: add all ingredients into a large bowl with the cooled down porridge. A cup of fish sauce, 2 cups of hot chili pepper flakes, a cup of fresh crushed garlic, two tablespoons of minced ginger, and a cup of minced onion. Then add the drained and freshly chopped salty squid.
- Step 4. To complete the kimchi paste, add a last few ingredients in: sliced green onions, chopped leek, julienned Korean radish, and julienned carrot.
- Step 5. Last steps are to mix the cabbage in with the kimchi paste and then to place it in an air tight sealed glass container or jar so it can ferment for a few days.
Maangchi has a full cooking show from what it seems. Her full Kimchi recipe post is here.
- Sauerkraut side by side by kimchi but the ones with chili flakes ferment faster because your feeding the bacteria.
- Kimchi is a great way to get good bacteria in. The red chili flakes feed the lactobacillus and they help it ferment faster too because of how much they feed the bacteria.
Conclusion: With Ferments, Less Is More
Fermented foods should be eaten lightly, and not overeaten because less is more when it comes to their health benefits.
These are 5 fermented food recipes will help you start eating fermented foods more regularly. They show you how to ferment vegetables and legumes, as well as how to use home fermentation to make drinks. Knowing these fermented foods recipes and then finding one or two that you really enjoy, will let you easily eat or drink something fermented, lightly, almost everyday.
Soon after starting to eat and drink fermented foods everyday, bathroom trips start to become more regular. The health benefits of fermented foods are there. Fermented foods probiotics do us good. Proper bowel movements means food is being digested the right way by your bacteria.
If you want to start eating more of these types of gut health foods, then these 5 ferment recipes will help get you started.
UP NEXT: 9 Fermented Foods Benefits (+ 2 easy ferments to get you started)
Keep in touch with us on social! We’re on Facebook, Twitter and Instagram.
Related Posts from Nutrition Adventures:


Leave a Reply