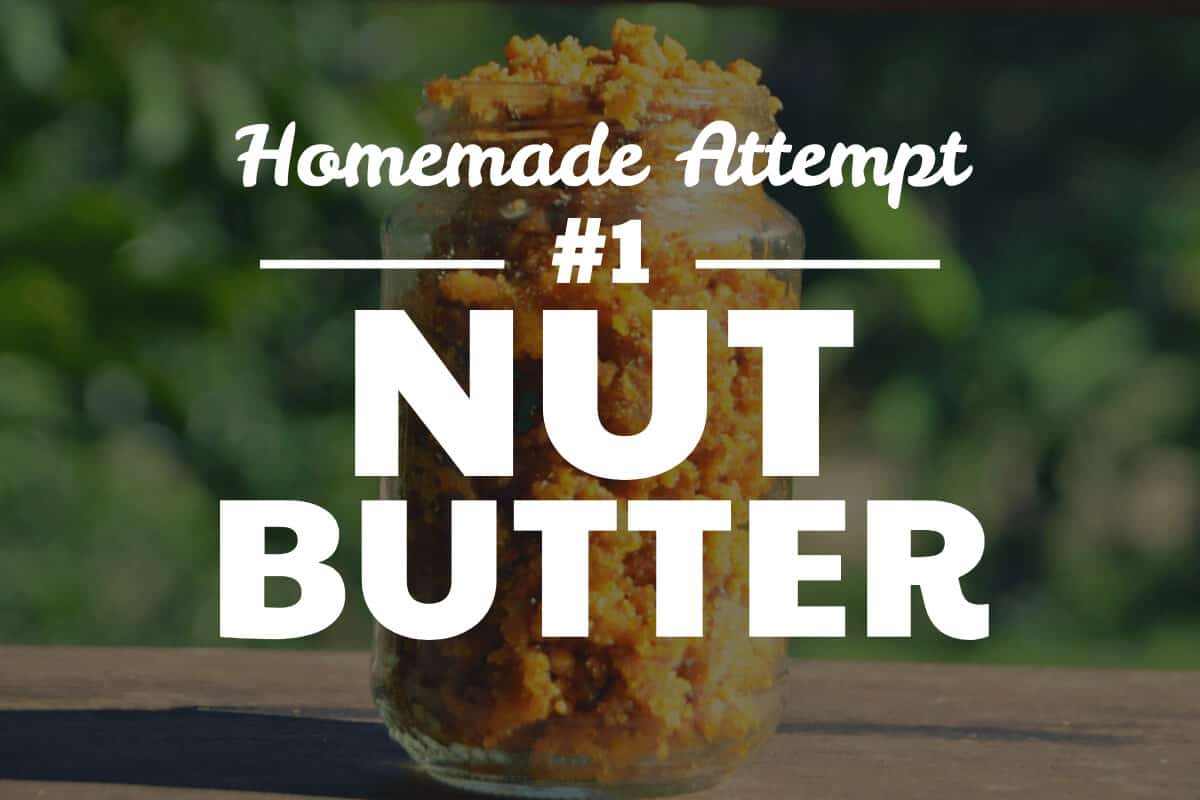
I’ve always wanted to learn how to make nut butter.
One day I decided to finally make it. I live in Thailand, where specialty nut butter spreads can be hard to find. So I decided to embark on this adventure of making nut butter for the first time ever. I have a blender with 1.2 horsepower, bags of fresh walnuts and almonds, Himalayan salt and some extra virgin olive oil in the fridge. I had everything I needed (but the inversion blender), so I went for it.
NOTE: After learning about lectins and all their varieties from the book, The Plant Paradox, I finally knew WHY I liked nut butters so much. Lectins are described in that book as plants’ defense system. They don’t want us to eat them. So they fight back with lectins. Gluten is just one of many lectins (some say it’s technically not a lectin).
Table Of Contents:
Better Than Peanut Butter
Peanuts don’t have gluten naturally, but they are one of those warning list foods. They are linked to autoimmune conditions like rheumatoid arthritis. This is something someone like me battling old sports injuries and now random body inflammation, would love to avoid. I always went with organic peanut butter in the past. Skipping the “rapeseed oil” is what I always informed whoever I happened to be shopping with that day, “gotta avoid the rapeseed oils.” With my propensity for inflammation (gene marker HLA-B27), I don’t want peanut butter anymore. Not even the wholesome homemade organic kind.
Homemade Nut Butter Recipe
So I googled “how to make nut butter.”
A Wellness Mama article popped up on page one for this nut butter recipes search, so I gave her article a quick read before seeing how easy nut butter actually is to make (in concept). She gave the option to roast. Instead, I just dehydrated the nuts (after soaking them overnight) under a hot tropical sun until they were parched and dry as can be. This worked great. A dehydrator would work just as well, but I live on the equator, so no need.
For this recipe, I used almonds and walnuts. Goji berries were added to instead of dates for some low carb berry-ness. I give it a rating of 5/10. It would be an 8 or 9 if I hadn’t over salted it.
Using A Blender:
Food processors are the go-to tool to make homemade nut butter, but the blender I used worked fine. I had to fenangle it a bit to get it going. It was not as smooth a process is as this video below (note: she’s using peanuts!). The video is just to see the process, but best to skip the peanuts.
Step 1. Soak Nuts In Water Overnight
Change the fresh drinking water you soak them in every 8 hours if you can.
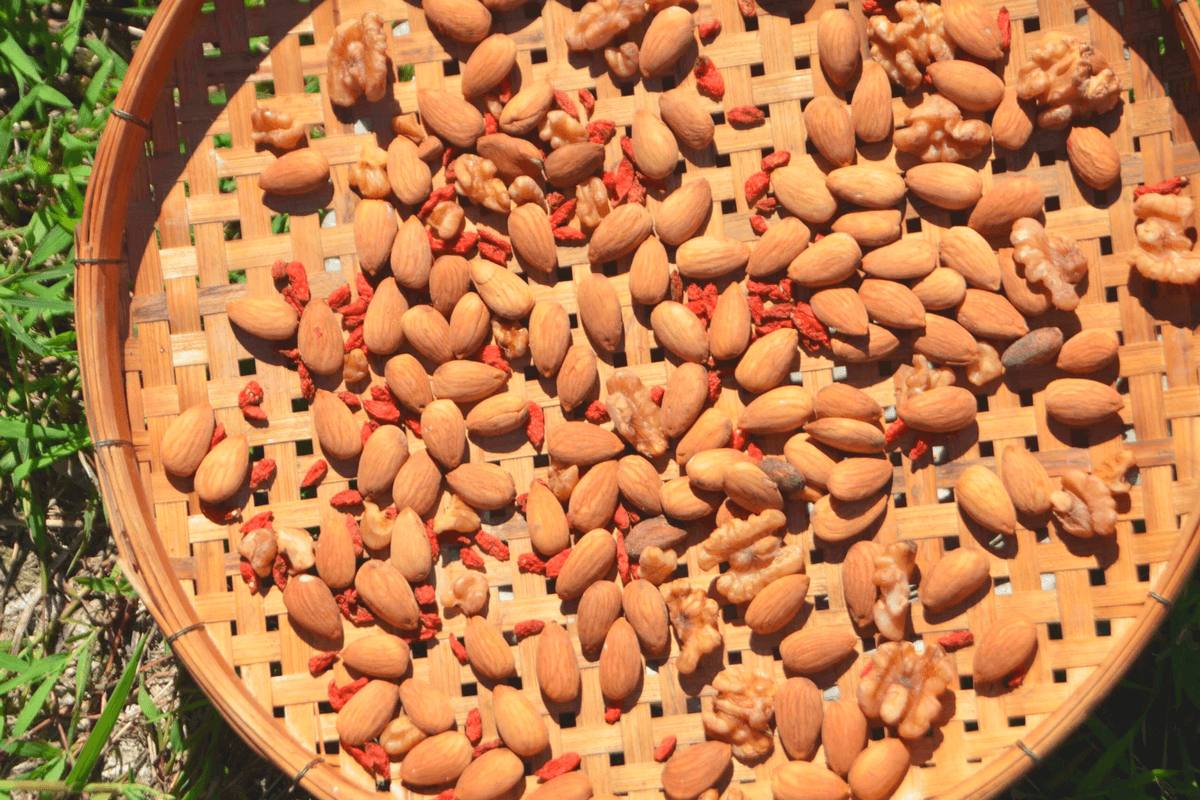
I washed them and then soaked the mix of walnuts, almonds and goji berries overnight. The soak included a couple generous pinches of salt. Soaking the almonds and walnuts reduces their phytic acid content. Even better if the water is warm. Just add some sea salt or Himalayan salt to the water for the overnight nut soak.
Step 2. Dehydrate Nuts
On a very side note: did you know that sunbathing your family jewels increases testosterone levels by 200%?
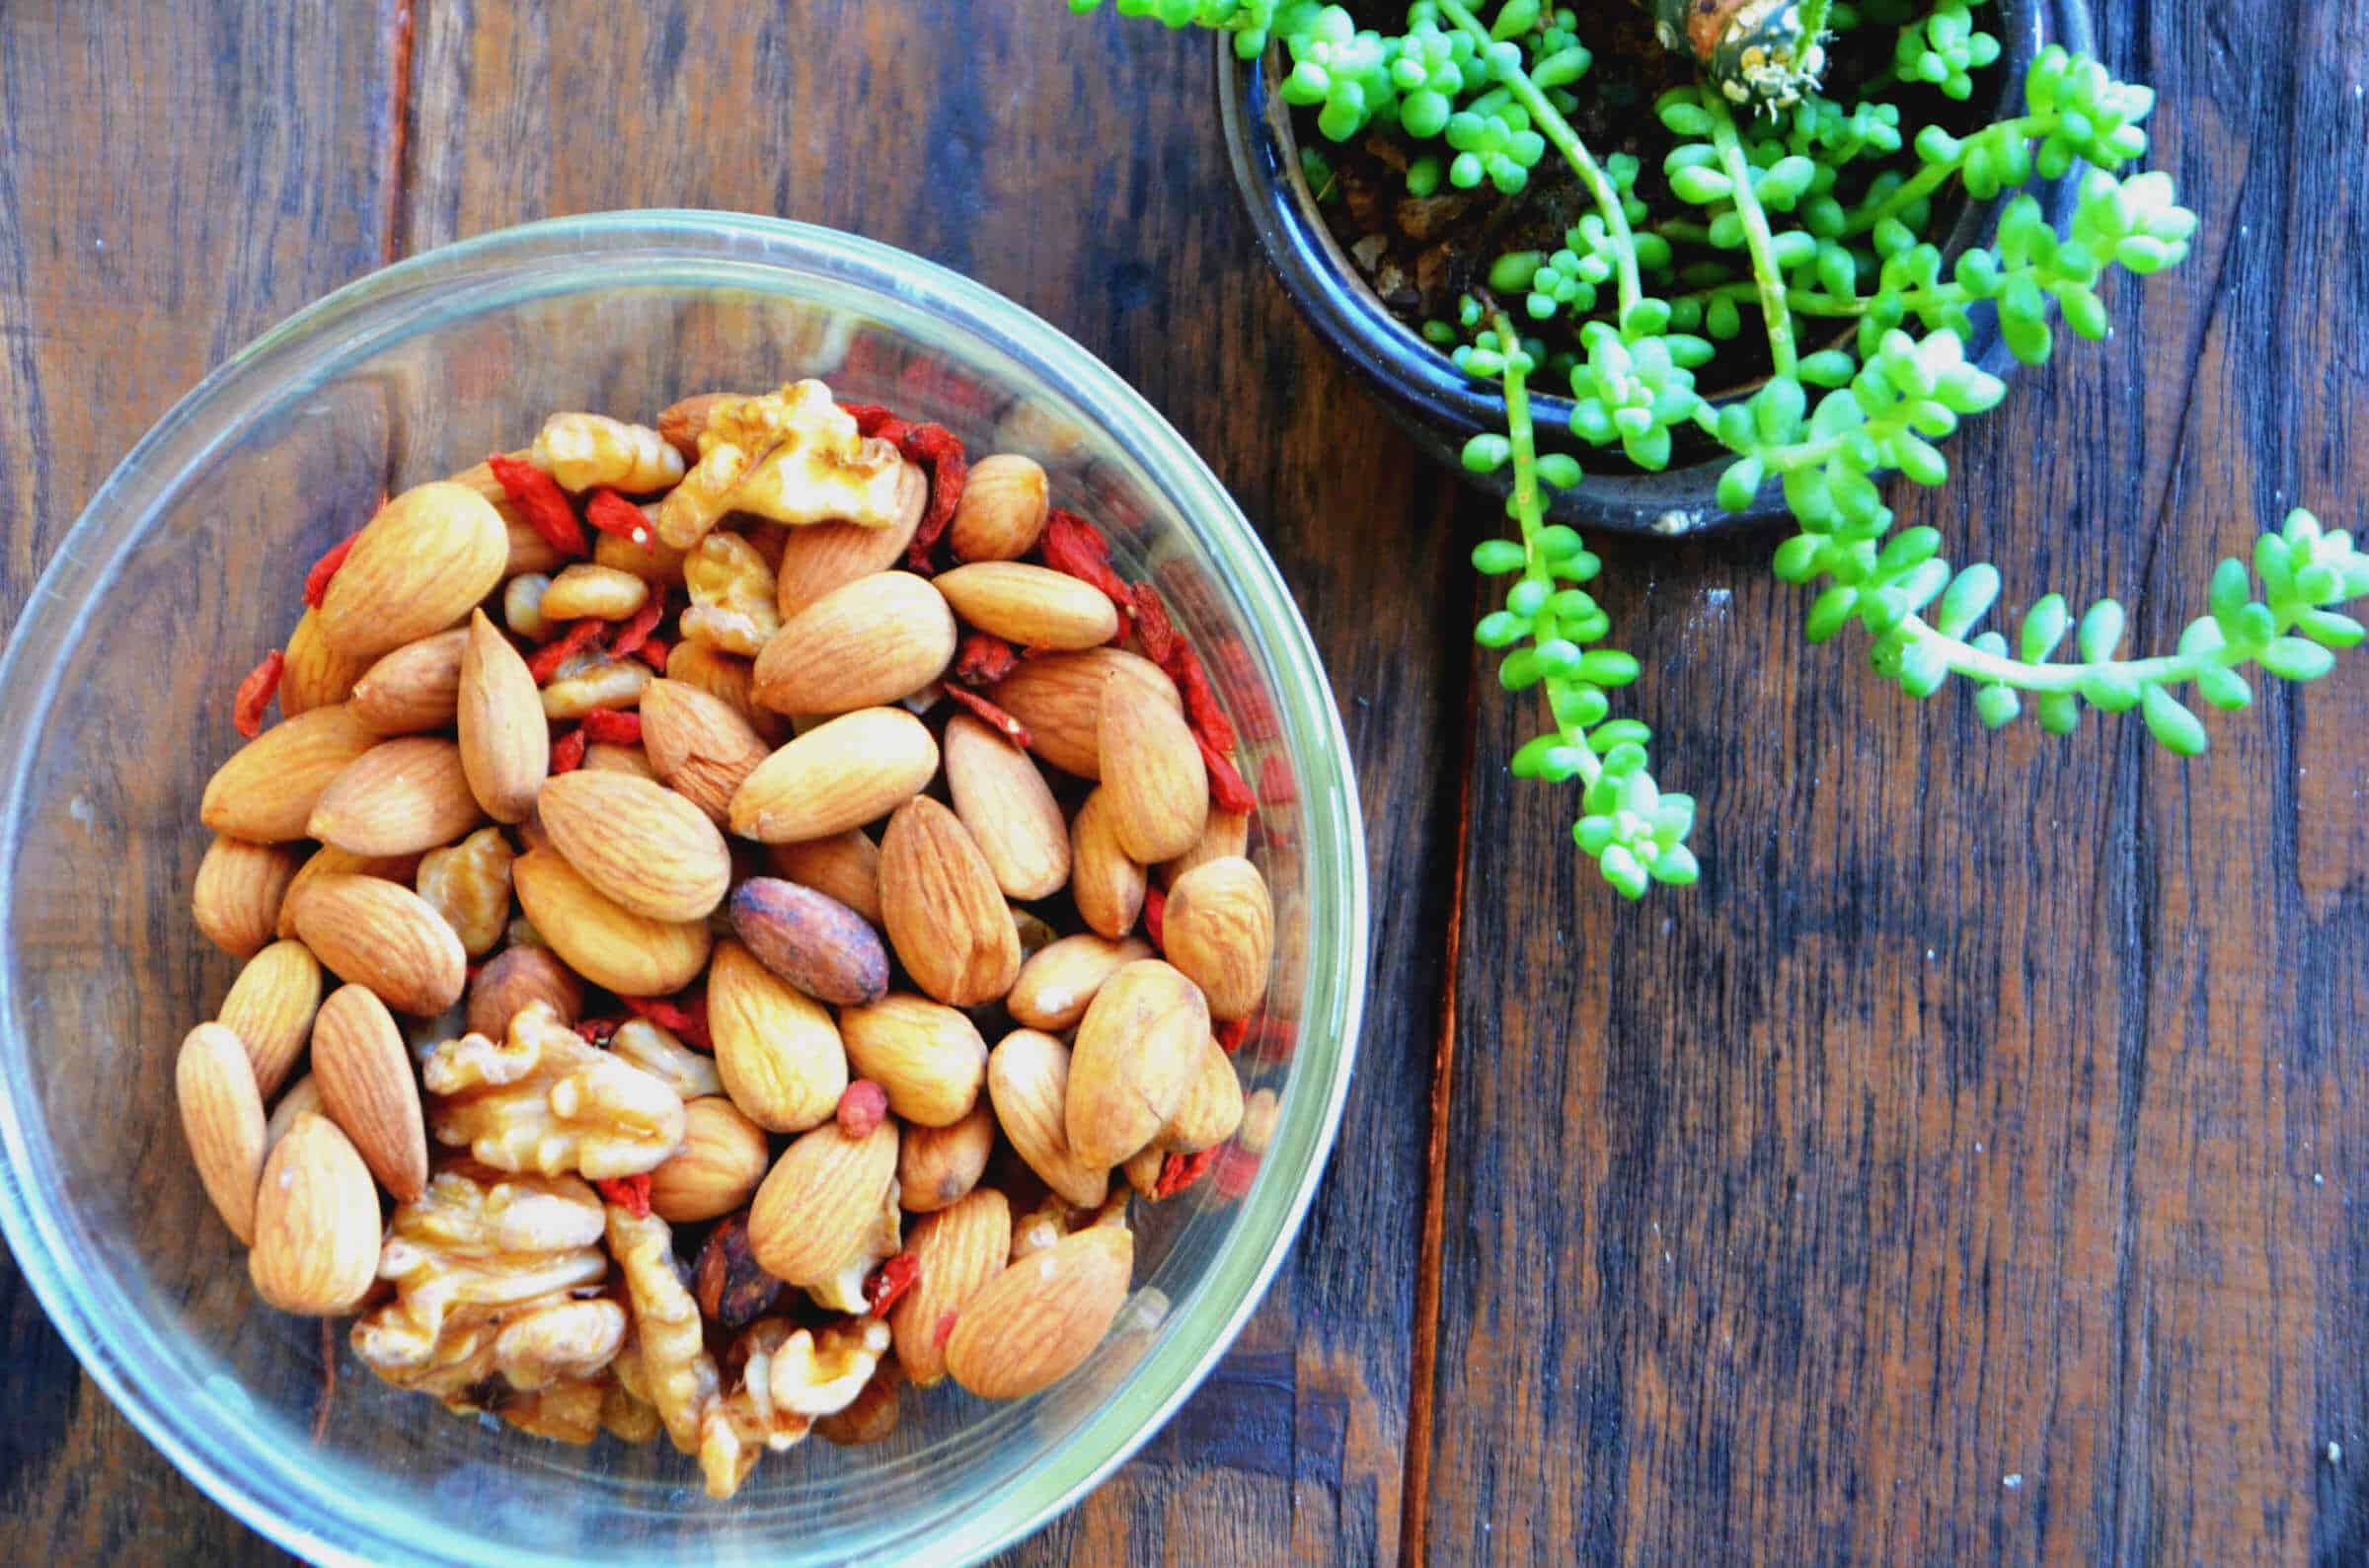
This picture above is what they looked like once they were fully dehydrated. I didn’t want to use moldy nuts as that would be horrible for various health reasons, but after dehydrating them in a bit of an old-school way (on a bamboo tray dehydrator), it was time to make the nut butter.
Step 3. Blend Dried Nuts
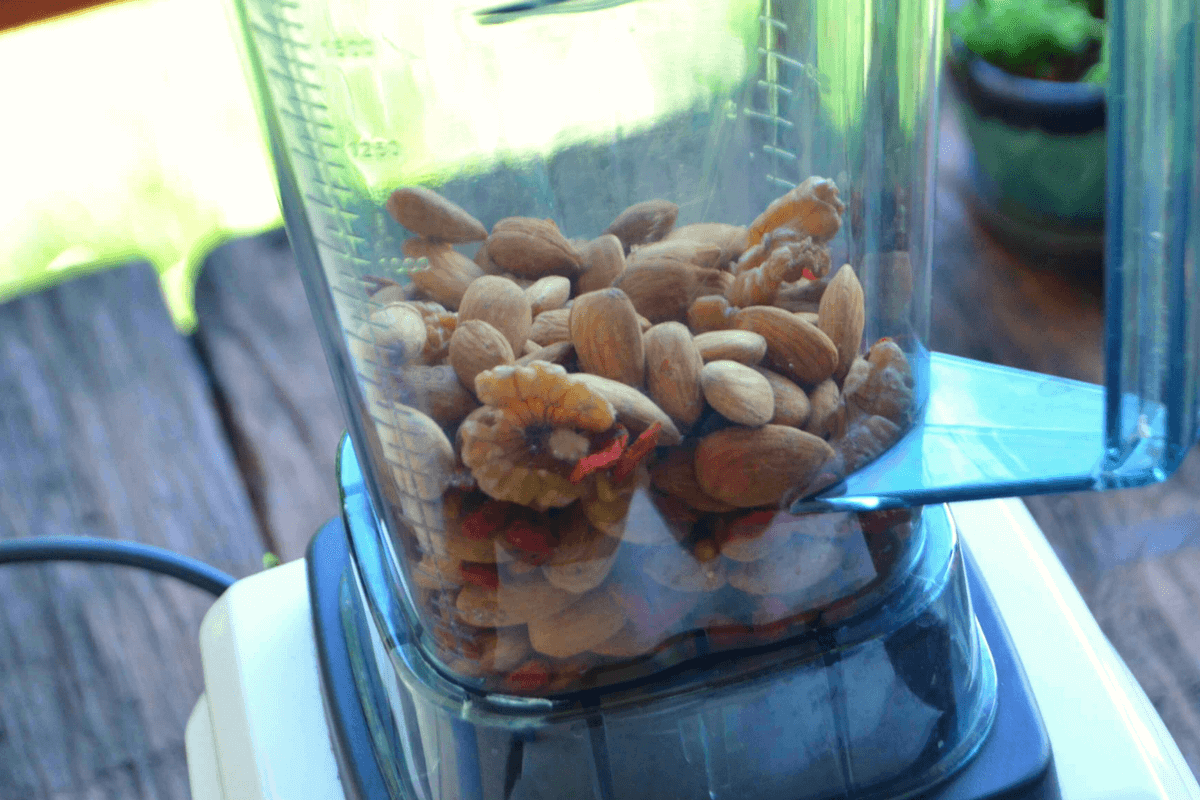
And here is where the problem came in. I used a high-powered blender. I’m not sure what’s the best tool yet to create homemade nut butter or almond butter, but I know for a fact it’s not a high-powered blender.
Step 4. Keep Blending
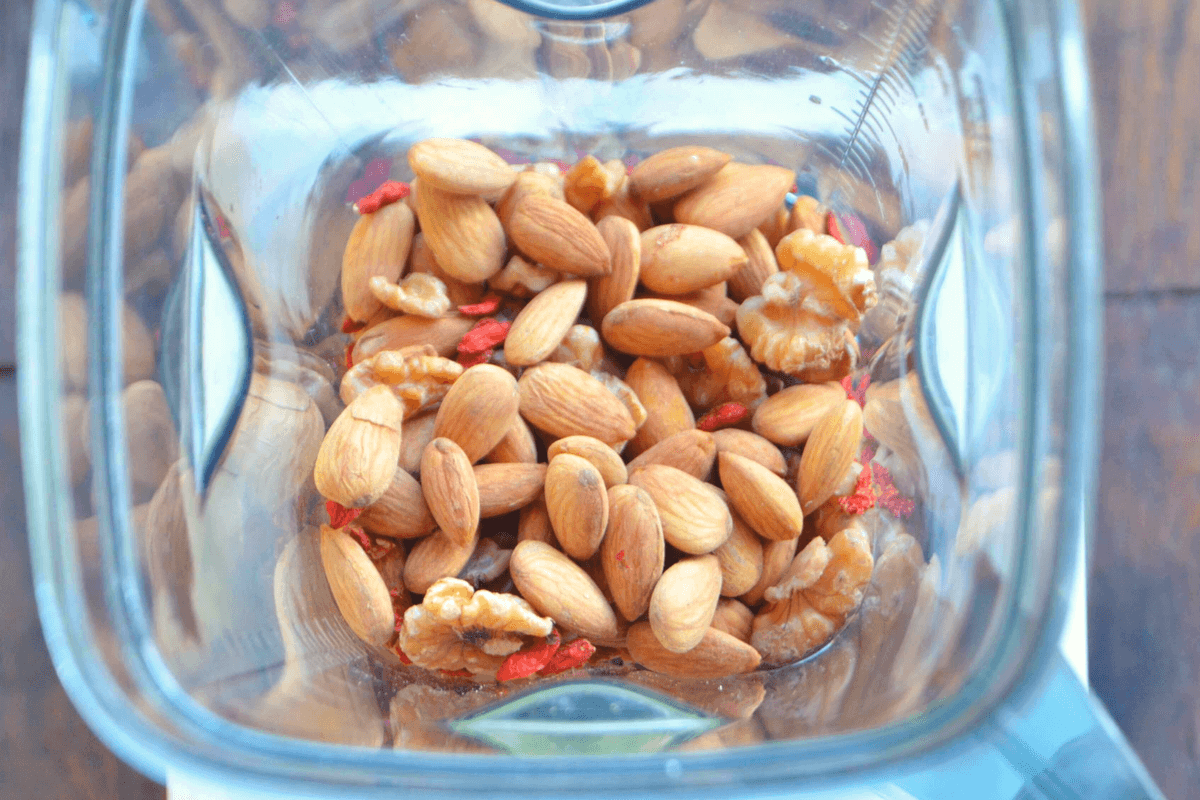
The problem with high-powered blenders is that the dehydrated nuts get stuck to the sides and the blade just spins and spins. You have to continuously push the nuts back inwards and this gets annoying.
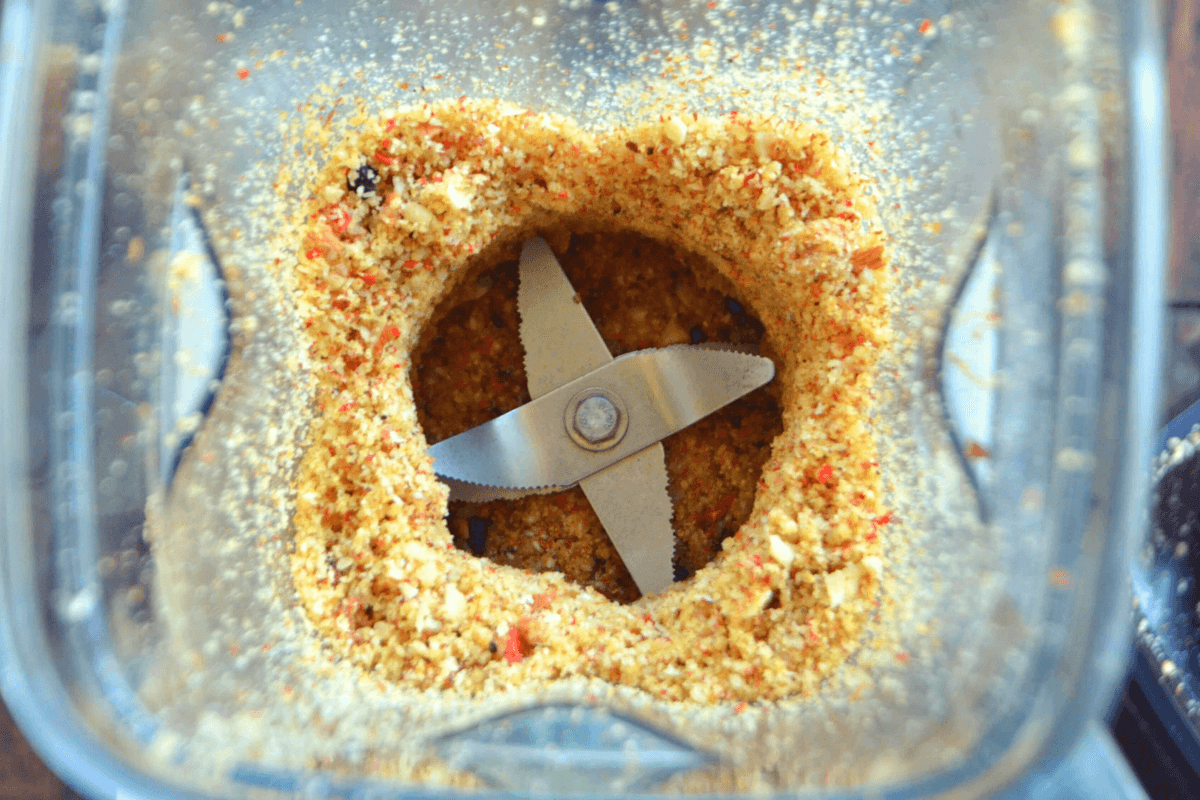
I was following general guidelines I’ve heard about making nut butter.
- soak
- dehydrate
- add some oil
- blend
So I busted out the olive oil and added 2 tablespoons before the very first blend cycle. When it kept getting stuck and looked too dry still, I added 2 more tablespoons. So, 4 tablespoons in total.
Step 5. Add-In More Extra Virgin Olive Oil
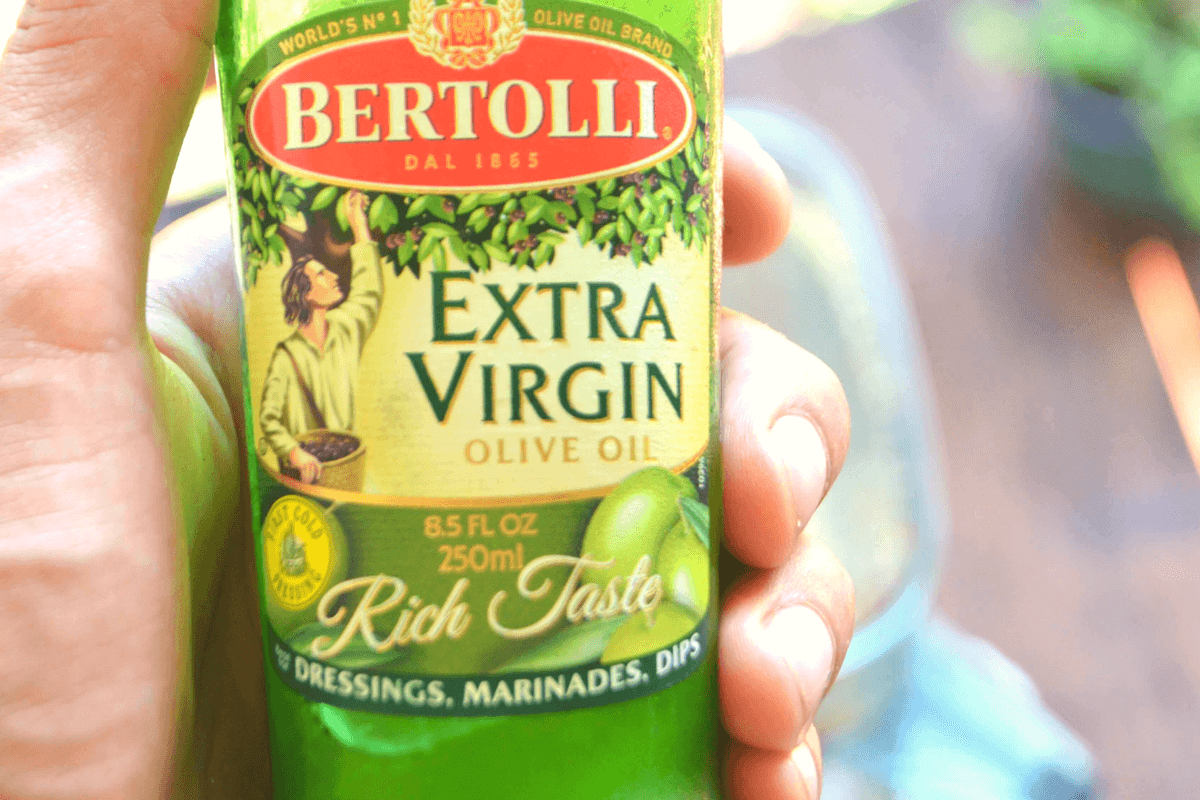
You can definitely taste the olive oil in the final product, although it’s not too bad. If I had used something other than a high-powered blender, then I could have used less oil. And if I would have remembered that I soaked the nuts with water and salt, then I wouldn’t have added this much additional pink Himalayan to it because the final product was just a bit too salty.
Step 6. Add More Salt To Taste
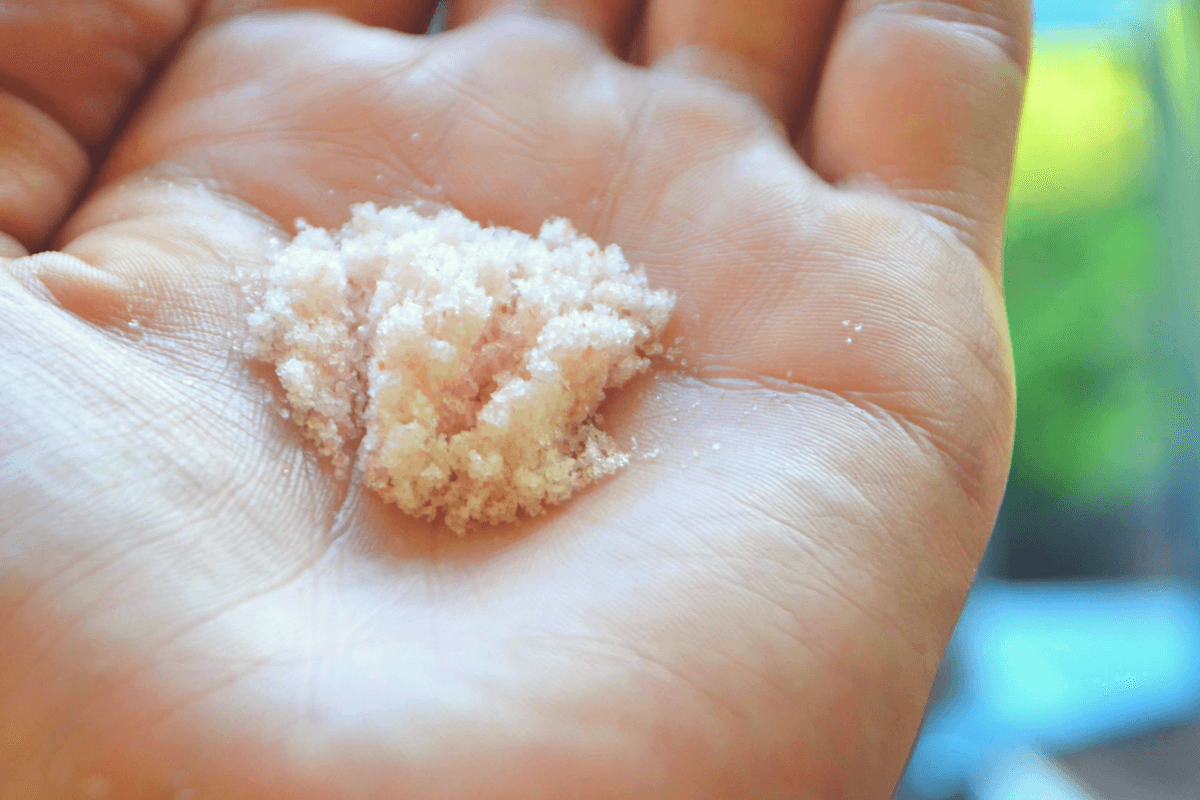
Being on a keto diet most days of the week, I tend to eat a lot of salt. I must, because I excrete a lot of it.
I must eat a lot of salt – up to 4 grams per day because I excrete a lot of it when I’m in nutritional ketosis. Therefore, I drink a lot of water and it usually has Himalayan salt in it. I also hit my salted water with IR light, but that’s another subject; a biohacking type one for another post.
My love of salt tampered the final product of my first nut butter attempt, but still, I actually liked the flavor of the outcome. It was delicious and salty.
Step 7. Enjoy Your Nut Butter!
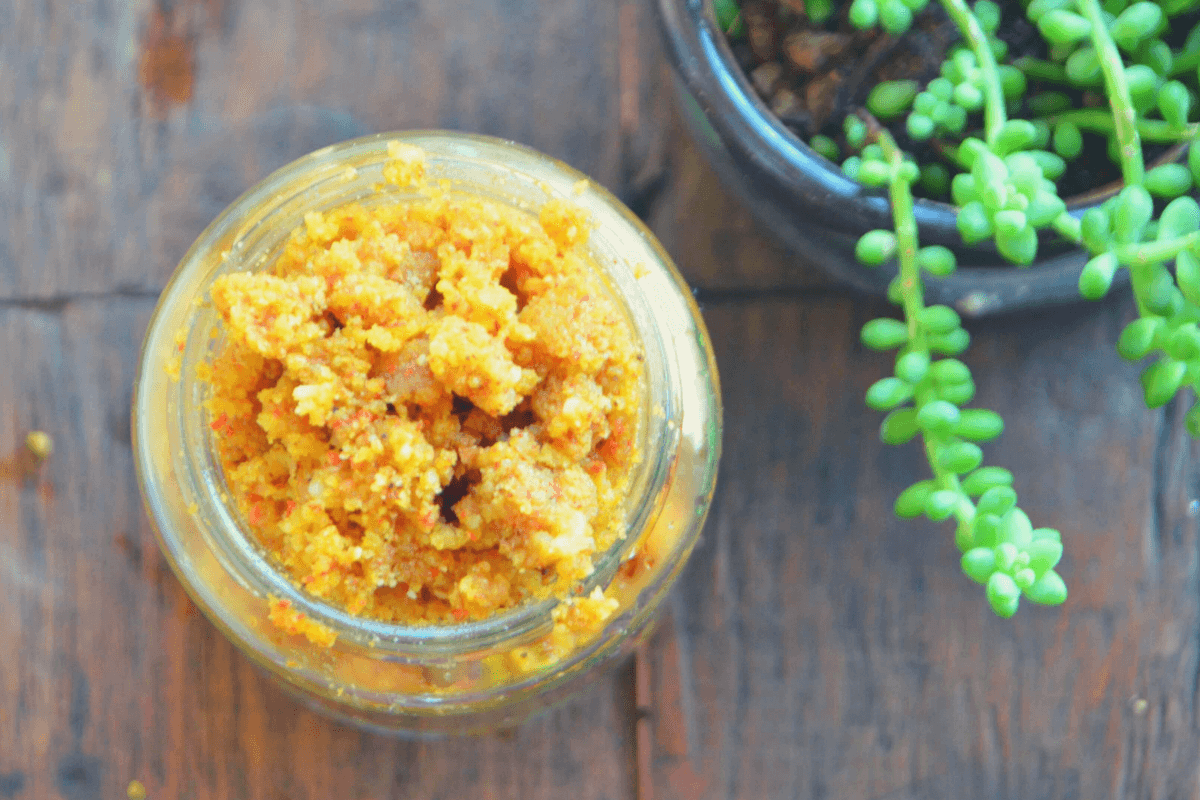
So my DSLR camera doesn’t do the fancy autofocus, and the dial to focus is jammed up. This makes focusing even more of an art for a very amateur photographer using my Nikon DSLR. Because I didn’t want to take a million photos and sift through to find the one or 2 good ones, I just took a few shots at different angles and decided close enough is good enough (focused shots) – hence the unfocused and overexposed nut butter.
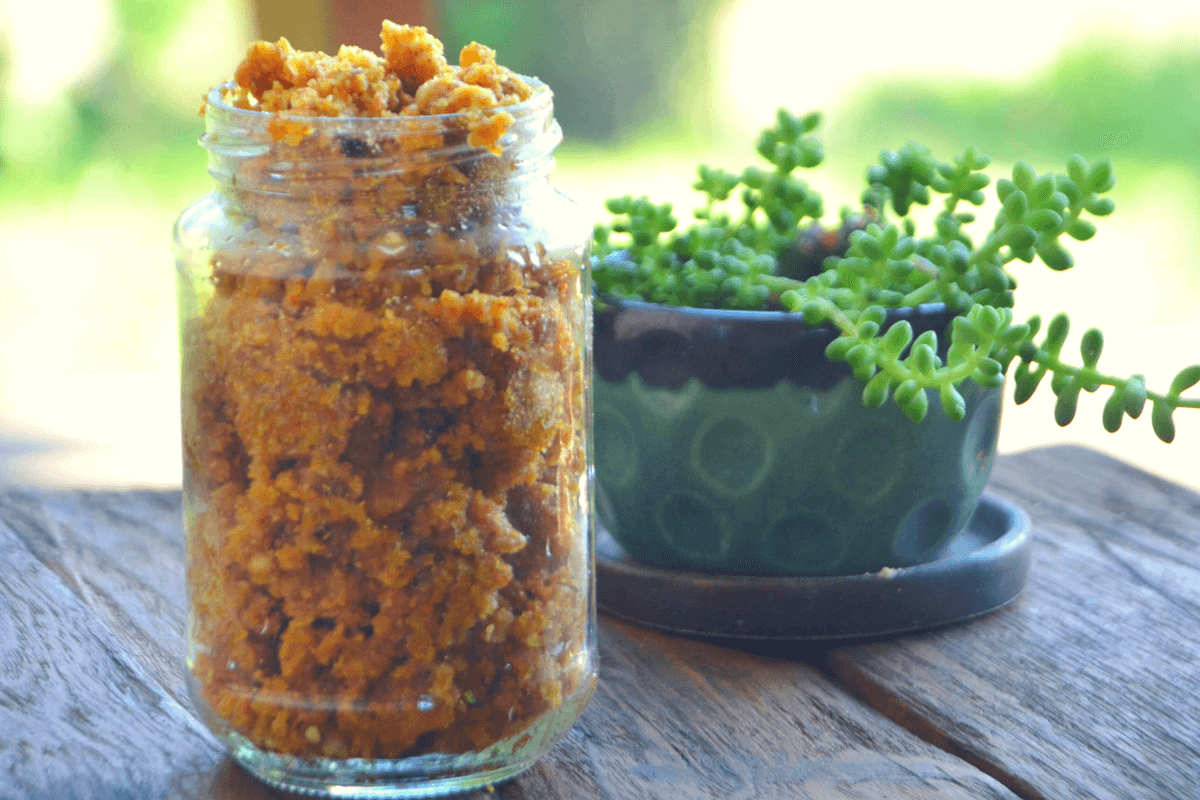
The recipe I will refine. This one was good, but it can get even better. I have a feeling that a high powered blender might not be the best solution for making a homemade nut butter, but it sufficed.
A food processor seems to be the recommended tool to make the best nut butters. “Food processor” sounds so boring, but I will try it out next time I make a nut butter.
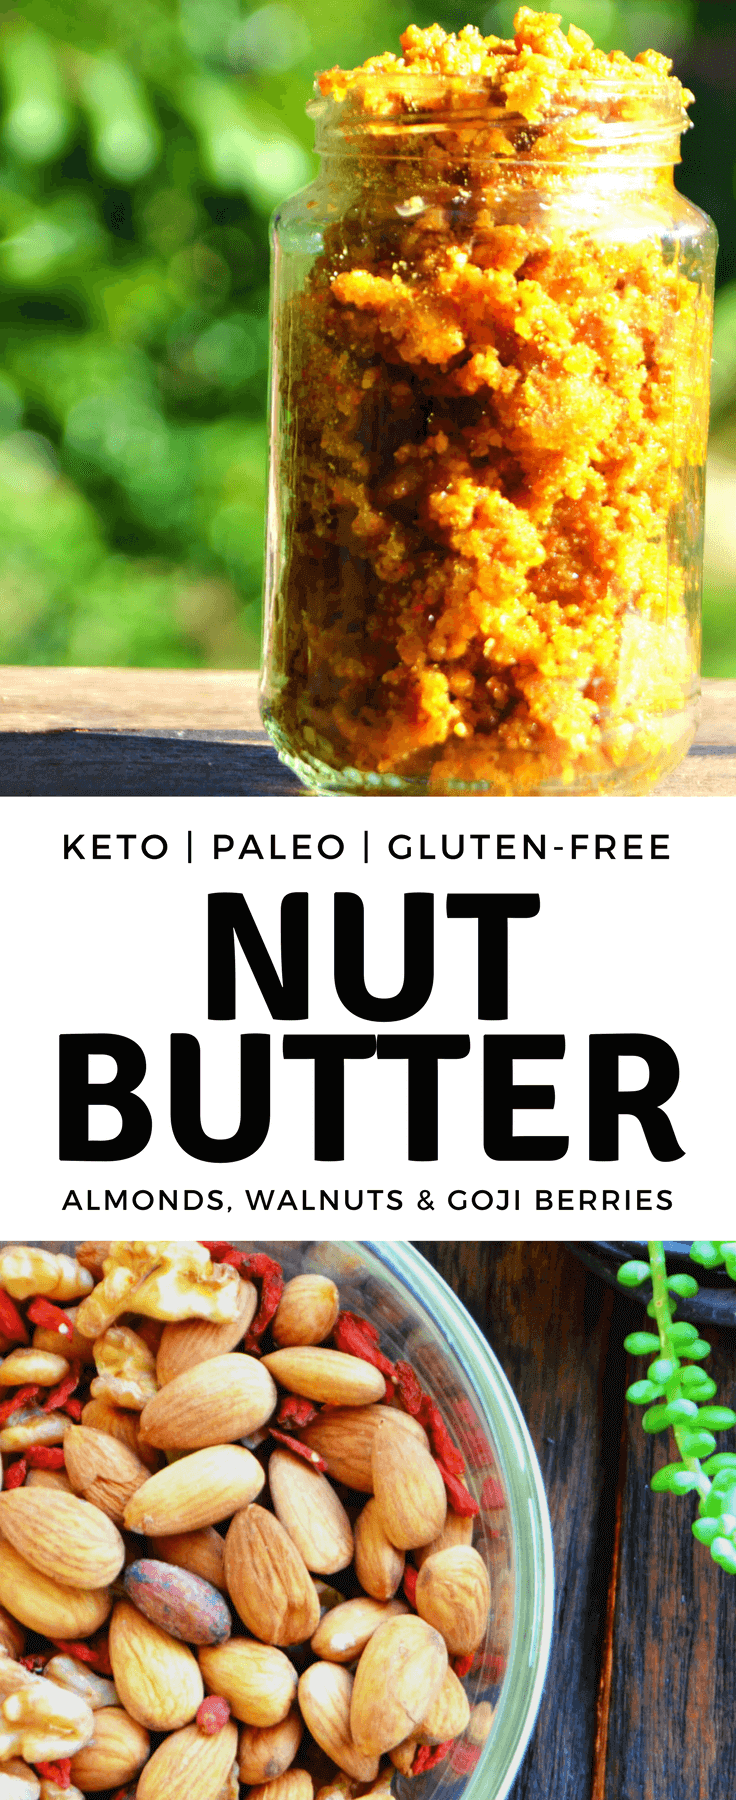
The Walnut, Almond, Goji Berry “peanut butter” alternative in all its glory.
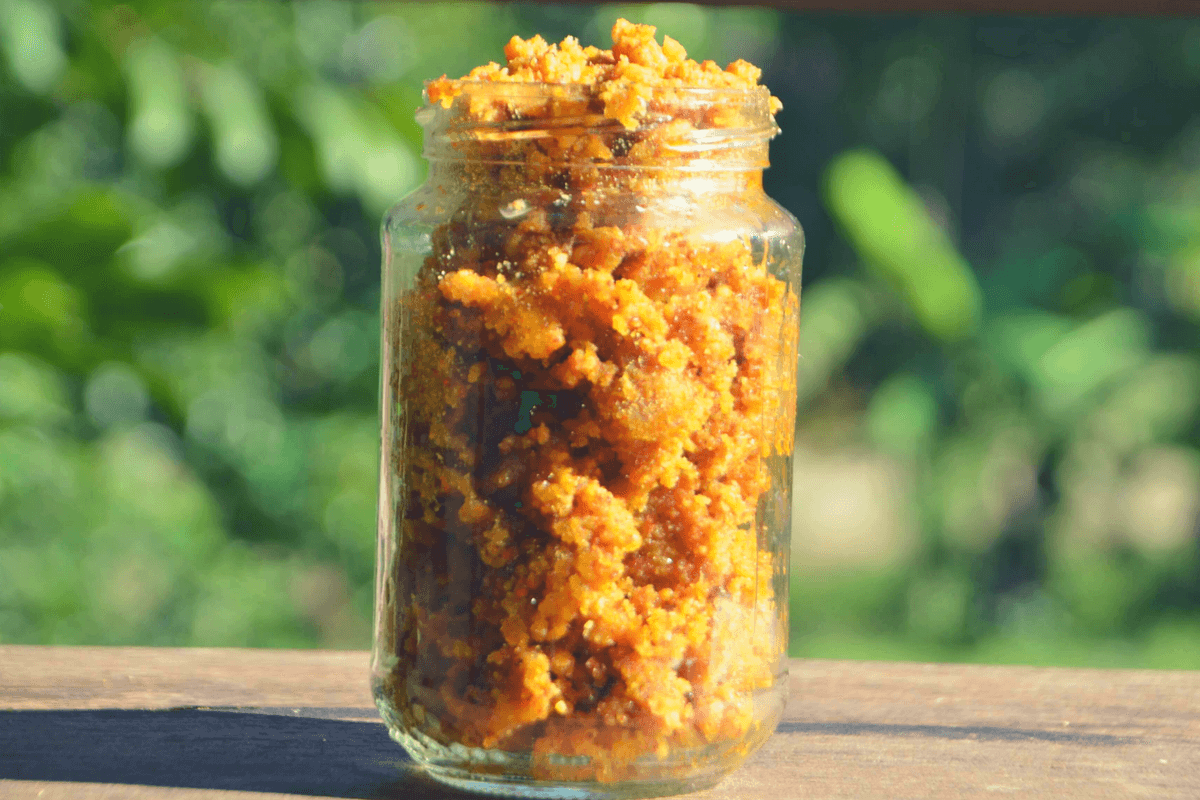
The finished nut butter!
Thanks for coming by the blog!
Let us know if you have any questions or comments on it below.
Homemade Nut Butter Recipe Card
A very crunchy, salty, and delicious homemade nut butter.
Read above if you want to see how I truly feel about this one. It was my first attempt at homemade nut butter, and although it was a success, there will be refinements made in the future.
- 1 handful walnuts
- 2 handfuls almonds
- 1 handful goji berries
- 4 tbsp extra virgin olive oil
- 2 grams sea salt
-
Soak the nuts overnight after rinsing them through.
-
Use salt in the water to soak, preferably warm water.
-
Dehydrate the nuts fully before making the nut butter.
-
Put nuts in a high-powered blender (note: this is not the best tool for the job) once fully dehydrated.
-
Blend at medium speed and add in bits of oil at a time
-
Keep pushing the ingredients back into the middle, over the blade, and blend some more.
-
In time, after you get tired of pushing the ingredients in the middle over and over again, you may stop and just see what the end result is.
I liked this one a lot, but it was too salty and I had 1 or 2 tablespoons too much olive oil. Try to make with less oil and use salt to your taste preference.
The Homemade Keto Nut Butter
Up Next: Hinlay Curry Recipe (Keto friendly Thai pork belly broth)
Visit our other low carb keto and Paleo recipes below.

Leave a Reply